1: Main AILD-1 Unit
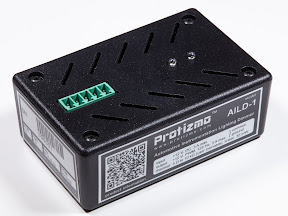
What is the AILD-1? See AILD-1 Automotive Instrumentation Lighting Dimmer: A Solution to Dimming After Upgrading Instrumentation Lighting to LEDs.
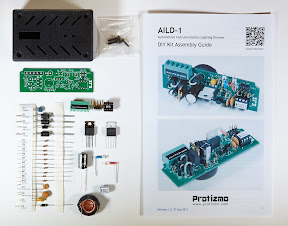
For a complete installation, you'll need both: (1) the AILD-1 main unit; and (2) a connection option:
1: Main AILD-1 Unit |
|
|---|---|
|
|
|
|
|
|
IMPORTANT! Rheostat A and B must NEVER be connected to anything other than the rheostat. Make sure that the rheostat is isolated and neither if its terminals is EVER connected to +12 V, or damage to the AILD-1 will likely result.
Some integrated headlight switch/instrumentation dimmer assemblies might require modification (breaking an internal electrical connection to one side of the rheostat, and possibly adding an external terminal for that side of the rheostat) to satisfy this requirement.
| Configuration Code | Rheostat Resistance | Fade at Power-Up | Illumination Level with Disconnected Rheostat | Applications |
|---|---|---|---|---|
| G1 | 6 Ω | fade down | 50% | Porsche 928, all model years |
| G2 | 21 Ω | fade up | 50% | Various models of 1980s Audis that use an Audi part number 857919093A rheostat (marked 21 Ω) |
| G3 | 5 Ω, with ∞ Ω switch | fade up | 0% | Various models of De Tomaso Panteras (has rheostat part number 13027A with switch that allows rheostat to go to infinite resistance) |
| G4 | 4 Ω, with ∞ Ω switch | fade down | 0% | 1977 Cougar XR7 (has rheostat with wiper landing that allows rheostat to go to infinite resistance) |
For applications not listed, it is likely that one of the above configurations will work; choose the one with the characteristics matching your needs and note that the AILD-1 can be trained to use a rheostat of unknown characteristics (minimum and maximum resistance). Other configurable parameters require the use of an AVR programmer, or contact us and we will consider adding additional configurations.
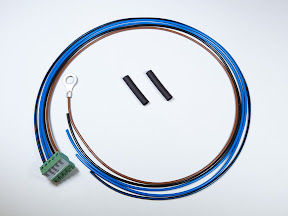
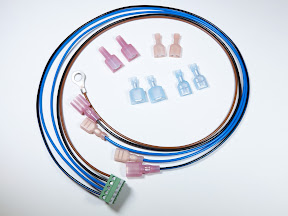
2: One or More of the Connection Options |
|
|---|---|

|
|

|
|
|
|
|
|
If you prefer to buy your connector (plug) for wiring elsewhere, you'll need an On-Shore Technology (OST) OSTTS05315A or equivalent (the green socket on the AILD-1 main unit is an OST OSTOQ053251). You'll need to label it yourself.